
As many of you know I’m not a trained photographer or consider myself a professional, technically advanced travel photographer. That being said – the moment I picked up my first “real” camera, I made a pact with myself. I would never touch the automatic mode, but push myself to learn how to handle the manual settings.
It’s been 3 years and I’m still in training 🙂 So, today I want to share some of my thoughts on travel photography and my tips and tricks on how to take better travel photos yourself – without becoming a technically obsessed nerd (I still consider myself a technical idiot) 😉
Make sure to also check the (huge!) giveaway at the end of this blogpost!
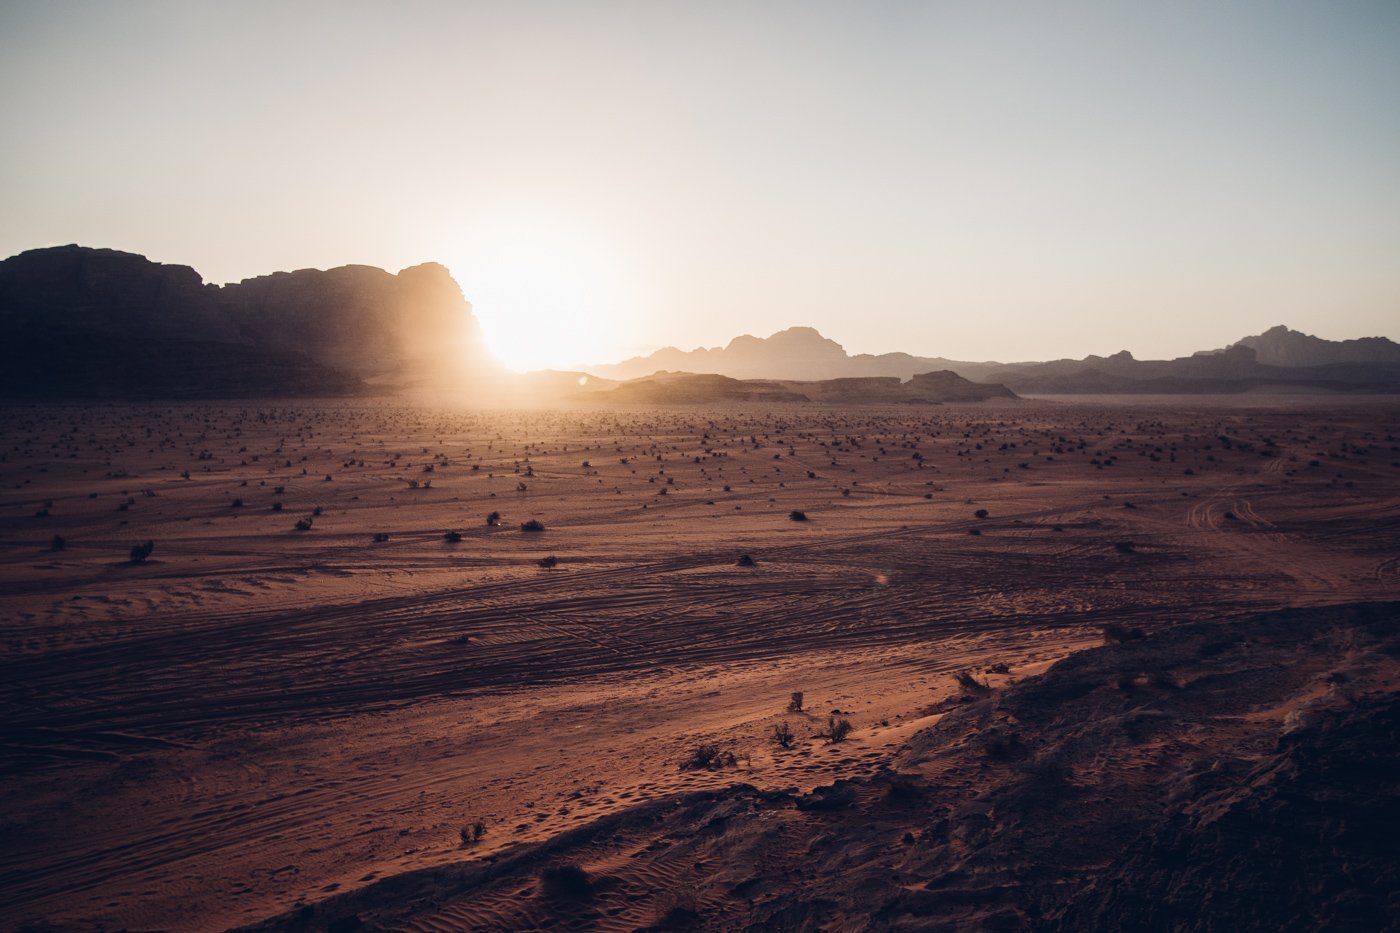
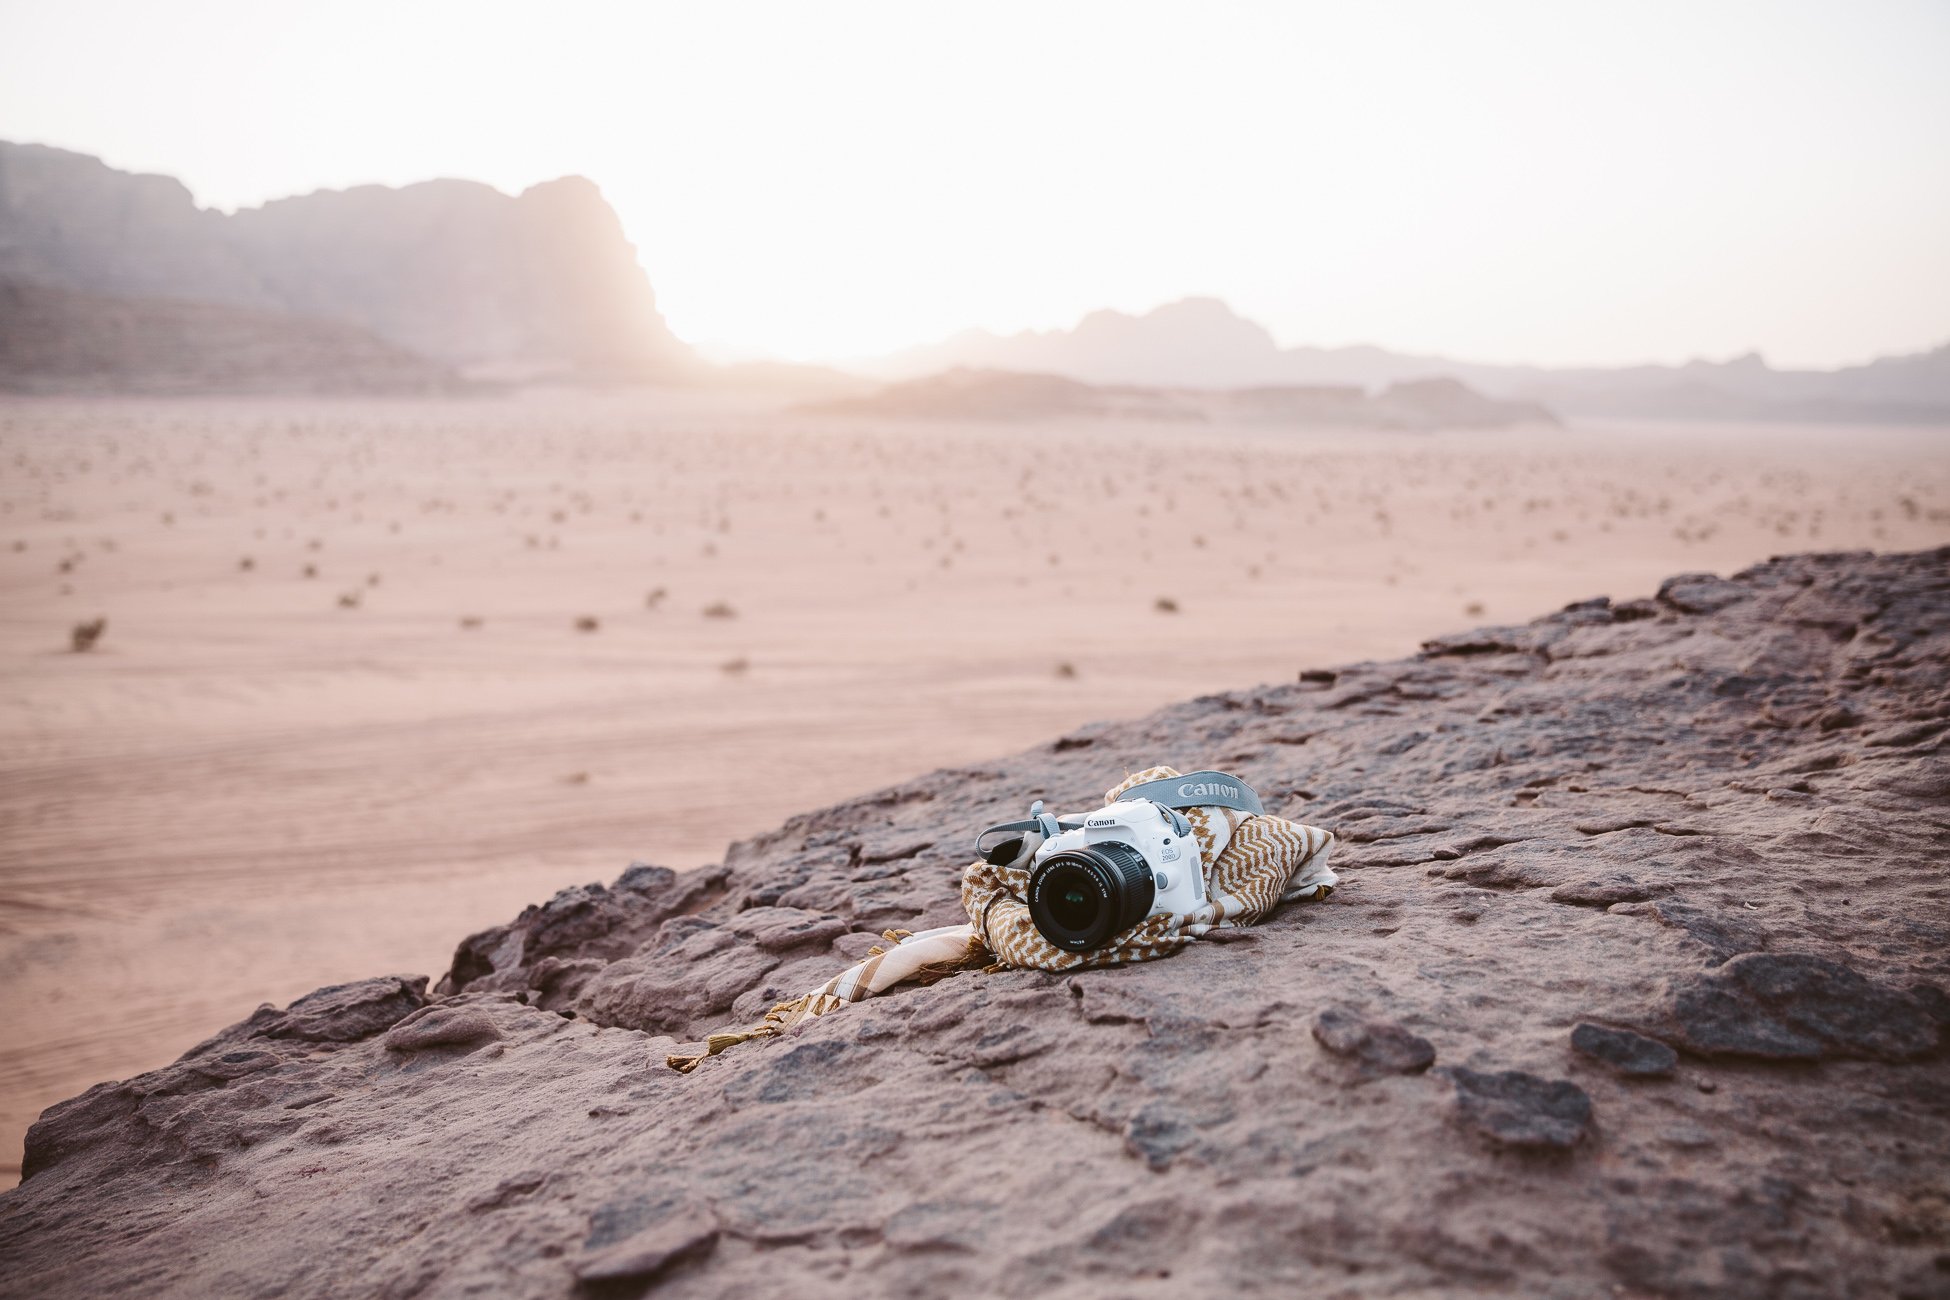
Sunset in Wadi Rum Desert as shot with Canon 200D.
Settings: ISO 100, 15mm, 1/640 sec at f 5,0
Don’t be afraid, baby
First: Shake off any fear you might have about technical subjects! And don’t ever be intimidated by those photographers that love to shove their technical knowledge in your face. I have steered clear of people like this (mostly) and enjoy the fact that a camera is just a tool for me and not my field of studies 🙂
Our short film for Canon’s #liveforthestory project!
Starring: @ladyvenom, @sarahpour, @rrrudya, @ezgipolat, @ju.hu.lia.
Different types of photography – different needs
I have learned that there’s different types of photographers and also photography. Your skills will adapt to your style of photography and to what you enjoy shooting. I for myself have learned, that I’m good in a reportage-kind of style of travel photography, that doesn’t involve a lot of staging, preparation or technicalities.
Until recently I didn’t even own a tripod (and now that I do I mostly carry it around for nothing) 🙂 So, don’t be fooled by people that carry around a ton of gear, a multitude of lenses, filters and other stuff. They need it because this accommodates their style of photography.
Just recently I bought a (very expensive and heavy) tele lens, because I thought I’d see puffins on the Faroe Islands and felt the need to zoom in on them. Turns out – I didn’t see any puffins and I took maybe 3 photos with this lens during the whole trip. Also I most likely won’t become a wildlife photographer in this life anymore 🙂 So I maybe could’ve saved some money on this lens…
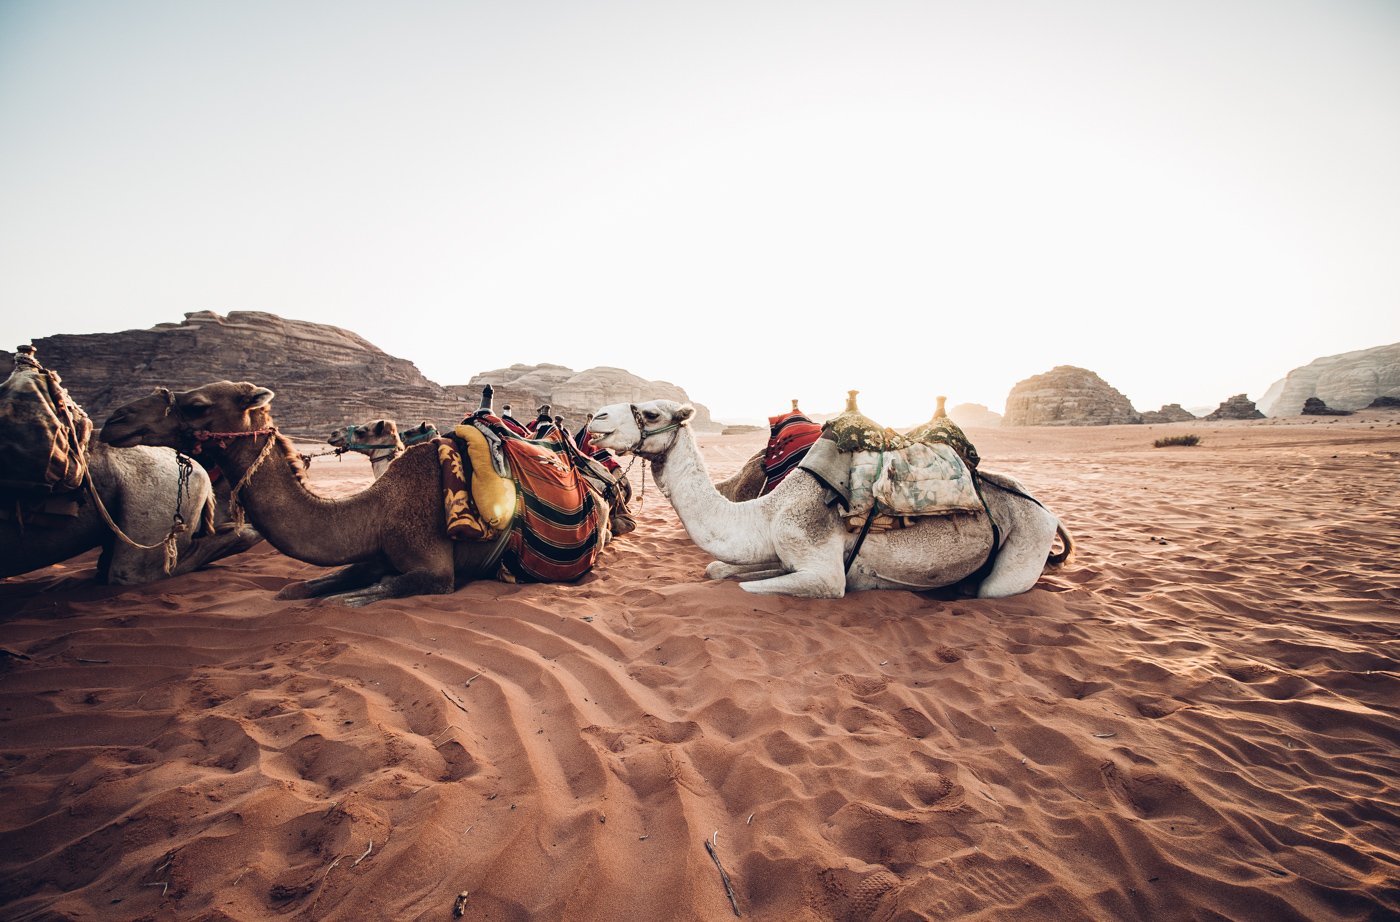
Camels in Wadi Rum Desert as shot with Canon 200D.
Settings: ISO 100, 10mm, 1/60 sec at f 4,5
How to take better travel photos? Start at the beginning
But first things first: I’ve started my photography journey on an old iPhone 3GS back in 2011. After a couple of years of strict #iPhoneonly on Instagram I decided to jump in the cold water and bought a used Canon 650D from another Instagramer.
Boy, was I excited! I watched a couple of Youtube Tutorials, set the camera to manual mode and just tested around. The first lens I bought was a 50mm 1.8 Canon lens (for a mere 100 Euros) and I was so excited about the depth of field and all the new possibilities with this camera.
My workflow consisted of shooting the photos on the camera, uploading them to my computer, transferring them on my phone and still editing them in Snapseed and VSCO on my iPhone. Why? Because I had no other editing software (and also no idea about how to use anything else than my beloved editing apps).

Teamwork: Ladyvenom & the Canon 200D.
Whatever works for you!
Bottom line: Do, what works for you! The most important thing is not to loose the fun in all of it.
“The passion for photography is the fuel for everything else.”
I’ve never touched the description or manual of any of my cameras, because I simply hate that stuff. I probably still don’t know 90% of the settings of my now upgraded camera (Canon 5D Mk III). And I actually had photographers tell me that I really wouldn’t need such an expensive professional camera, since I basically only use the 3 main settings:
- Shutter Speed
- Aperture
- ISO
I know that those 3 words can already be intimidating (trust me, I felt the same way not so long ago). Therefore I’m sharing my settings on each of the photos in this blogpost!
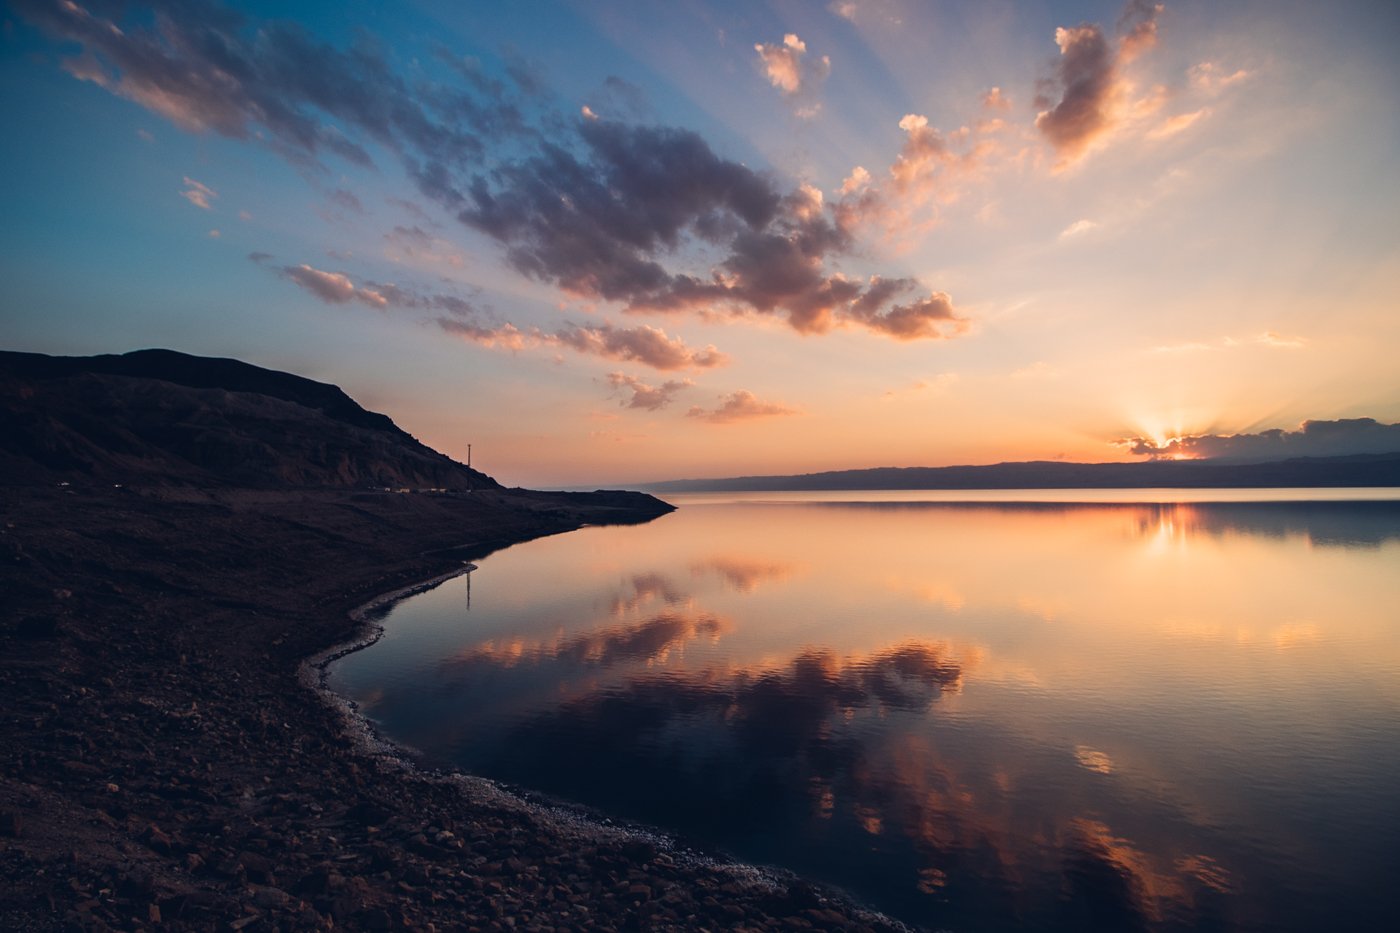
Sunset at the Dead Sea in Jordan as shot with Canon 200D.
Settings: ISO 100, 16mm, 1/160 sec at f 11
Types of travel photography
Travel photography can be many different things. While traveling with lots of different photographers I’ve got to know a couple of those types.
- The technical pro: Those are the ones with tons of equipment, who will change their lenses all the time, set up their tripod whenever possible, put on ND filters and whatnot. They also edit one photo for hours and hours until it’s perfect. Their photos aren’t an electronic reproduction of reality, but concepts of their perception and reality. Those can be artists with rather ambitious concepts, but also just technical geeks who love to HDR everything 😉
- The creator: Then there’s the ones who jump around and try to frame the photo perfectly, find the best angle, ask other people to stand somewhere and adjust their every move and pose to get the right shot. They have an image in their mind and they want to get it.
- The observer: And then there’s me. I’m quite casual. I’ll be the silent one in the background, just shooting away what I perceive. I have a talent to see things, to observe my surroundings. I kind of feel like a sponge in that way. But I can’t create a scenery like other people do – I’m merely transforming what I see into a photo. (Therefore I can also edit 100 photos in one night shift easily, as I don’t take hours of editing for one shot.)
Those types are not definitive. I’m sure there’s many other types of travel photographers out there. But what I want to emphasise is: You don’t have to do it all and you also don’t need to be anybody else but your own type of photographer.
“Learn what you like to shoot and grow your passion – your skills will follow.”

Landscape photography has different needs than portrait or night sky photography
Settings: ISO 100, 10mm, 1/250 sec at f 7,1
My workflow today
I learned to adapt my workflow to my needs. And those needs are evolving. I got to the point where I started seeing if a photo wasn’t sharp in the edges. I noticed that my 650D with the 50mm lens narrowed what fit in my frame a bit too much. I started wishing to be able to edit my photos with a more professional software than the apps on my phone. But it was a slow process.
So give yourself time for that. Don’t push yourself so much, that you’ll be caught up in technical details and loose what’s the base of it all: The passion for photography.
Today this is how my workflow looks like (again, no pressure for you guys to do the same):
- I shoot on a professional camera (Canon 5D Mk III) with basically just one lens (Canon 24-70mm 2.8).
- I shoot everything in RAW format. (Let’s not get into detail too much about RAW, but it basically means if you fuck up your photo a little you can still correct it afterwards 😉 I’m talking about things like exposure – not the subject itself… :))
- At the end of a day of traveling I’ll upload all my RAW photos to my laptop.
- I’ll save a copy of all my RAW files on an external hard drive (before I delete them off the memory card of the camera!).
- I’ll sift through all the photos of the day (usually everywhere in between 500-3.000 photos per day) and import the ones I like into Lightroom.
- I edit in Lightroom (usually about 5-10% of the photos I shot during that day).
- I export the photos from Lightroom as web-ready jpgs (not heavier than 700kb), so that I can use them on the blog and Facebook, Instagram, etc.
- I push the jpgs to my phone via Airdrop. (And I upload them to my Dropbox just in case.)
This basically is my standard procedure every night in the hotel room. So that’s not a feasible procedure for everyone (as it might basically ruin your vacation ;)).
Settings: ISO 100, 18mm, 1/500 sec at f 5,6
Easy Photography workflow
Therefore I came up with the following alternative workflow for you guys. It’s the easy version, but it still allows for your photos to get better immediately:
- Shoot with your camera, but try not to use the Automatic Mode – it will cost a lot of the photographic quality you are yearning for.
- Yes, you should also shoot in RAW mode, but use RAW + JPG, so you have the JPGs if you want to do a quick edit on your phone (both files will be saved on the memory card).
- Get a camera with wifi, so you don’t have to use your laptop while traveling.
- Don’t delete the photos from your memory card until you’re home and saved them. Rather bring a back-up memory card and switch it once it’s full.
- Push your JPG photos to your smartphone and edit them on your phone for the start.
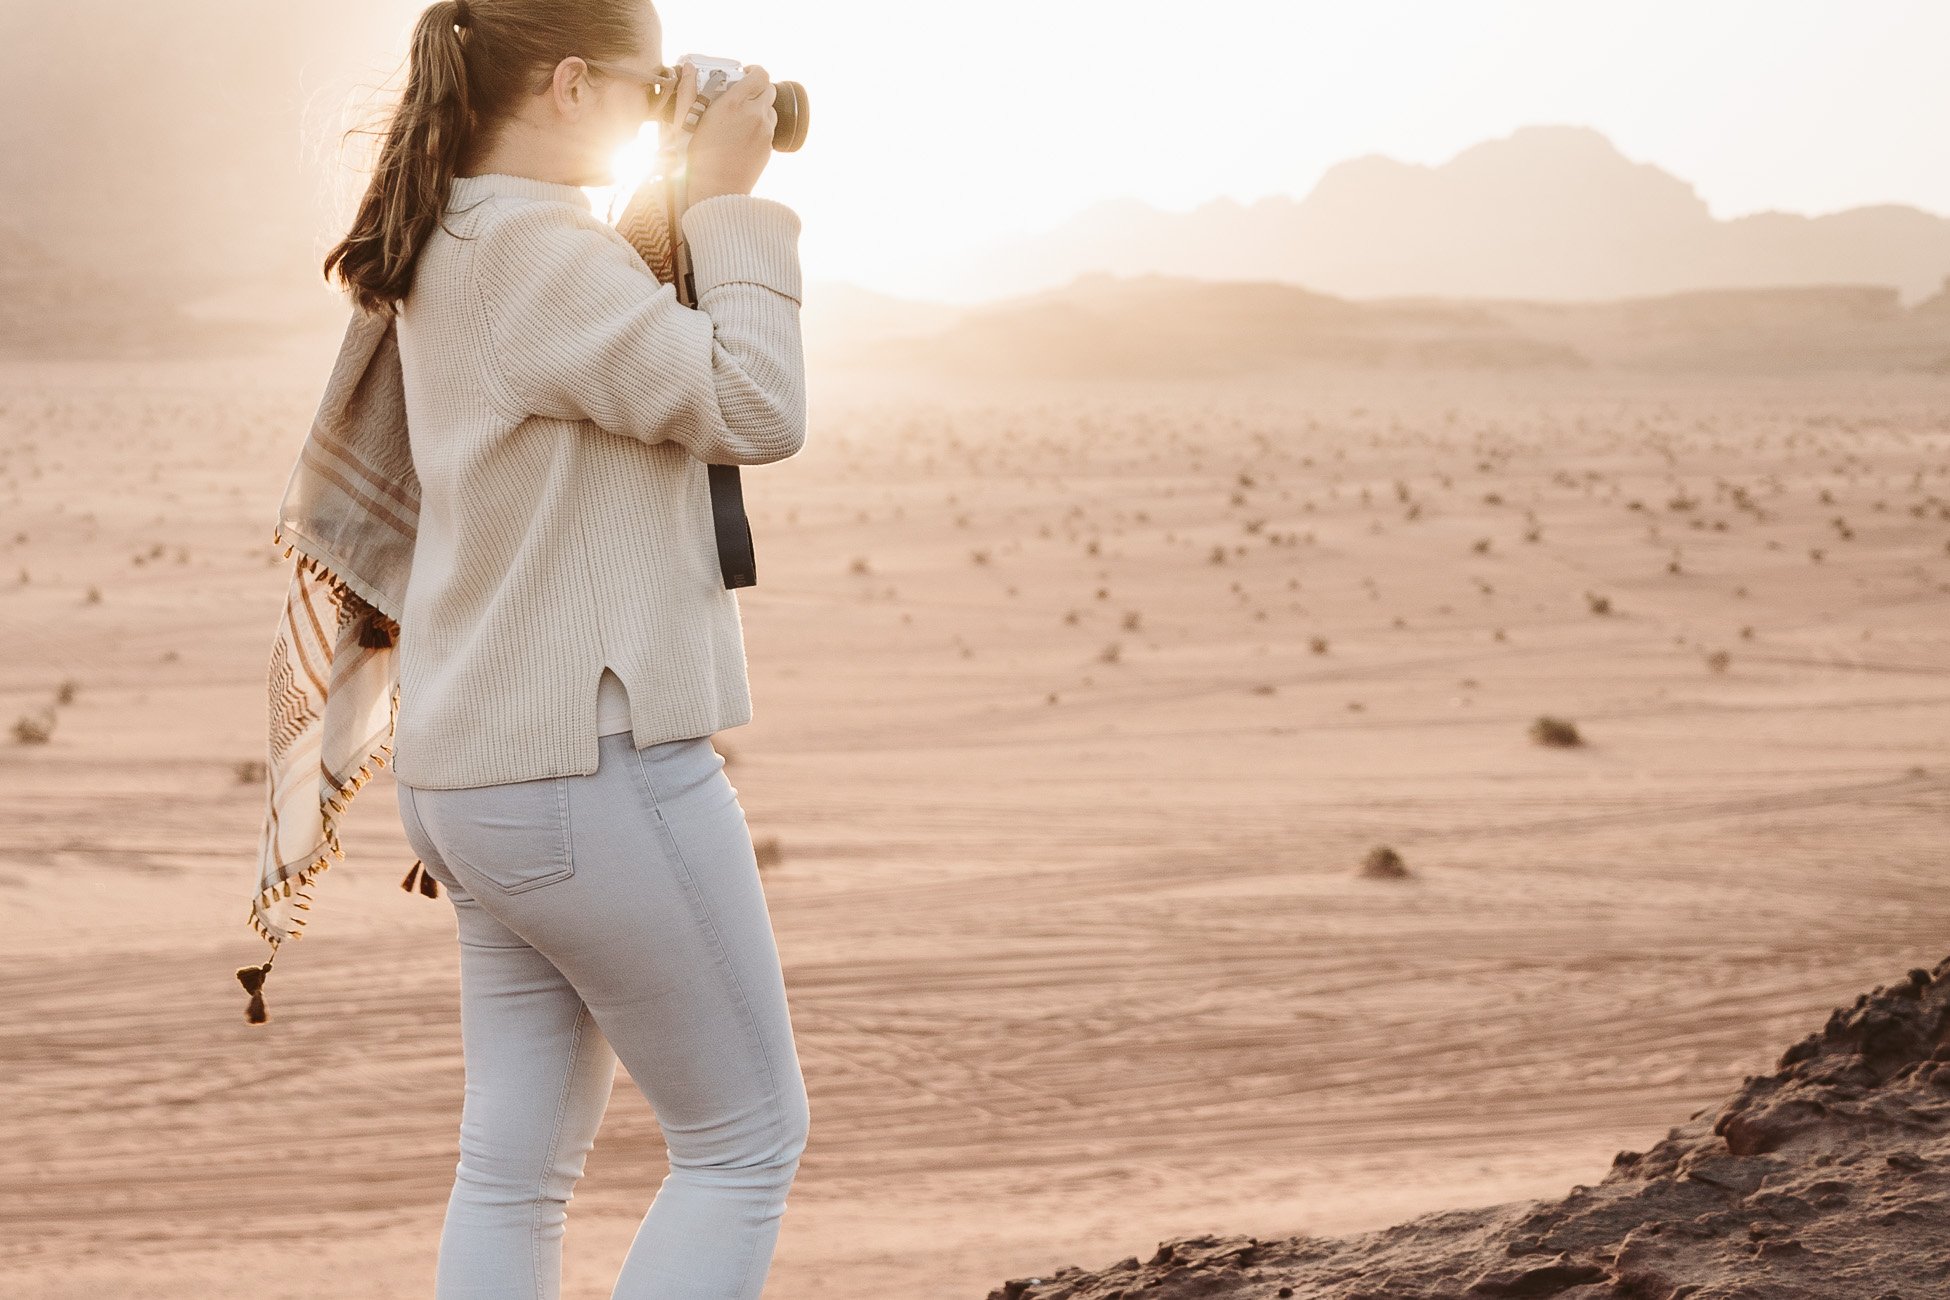
Disclaimer: Taking photos with sunglasses isn’t always recommended 😉
Why I recommend editing on the smartphone
If you have never edited a photo before you won’t have a trained eye. You might be overwhelmed by the possibilities of professional editing software and give up too easily. Therefore I think it’s a valid “training” to edit on the phone.
“Plus: The editing apps on smartphones are getting smarter and more versatile every year!”
If you shoot in RAW and jpg you’ll be able to edit the jpgs on your smartphone easily. And if you ever get to the point where you want to give Lightroom, Photoshop or any other professional system a try you’ll at least still have the RAW files to play around with.
I’ll recommend the following apps for editing on the smartphone:
- Adobe Lightroom CC: It’s like the mini version of Lightroom for your phone. You can easily learn the effects of changing exposure, contrast, saturation, etc. – it even has a lens correction (if your lens produces dark corners for example).
- Snapseed: This app offers selective adjustments without the need to upgrade to a paid plan. This way you can (for example) make the sky lighter, without making the whole photo lighter. Or adjust the color of just one part of the photo. This needs a little training, but is quite useful!
- VSCO: This used to be my go-to app for all the editing in the first years of my career. Mostly because I loved the filters. By now I’ve grown a bit allergic towards too much filter use, but do try it out and see what you like!
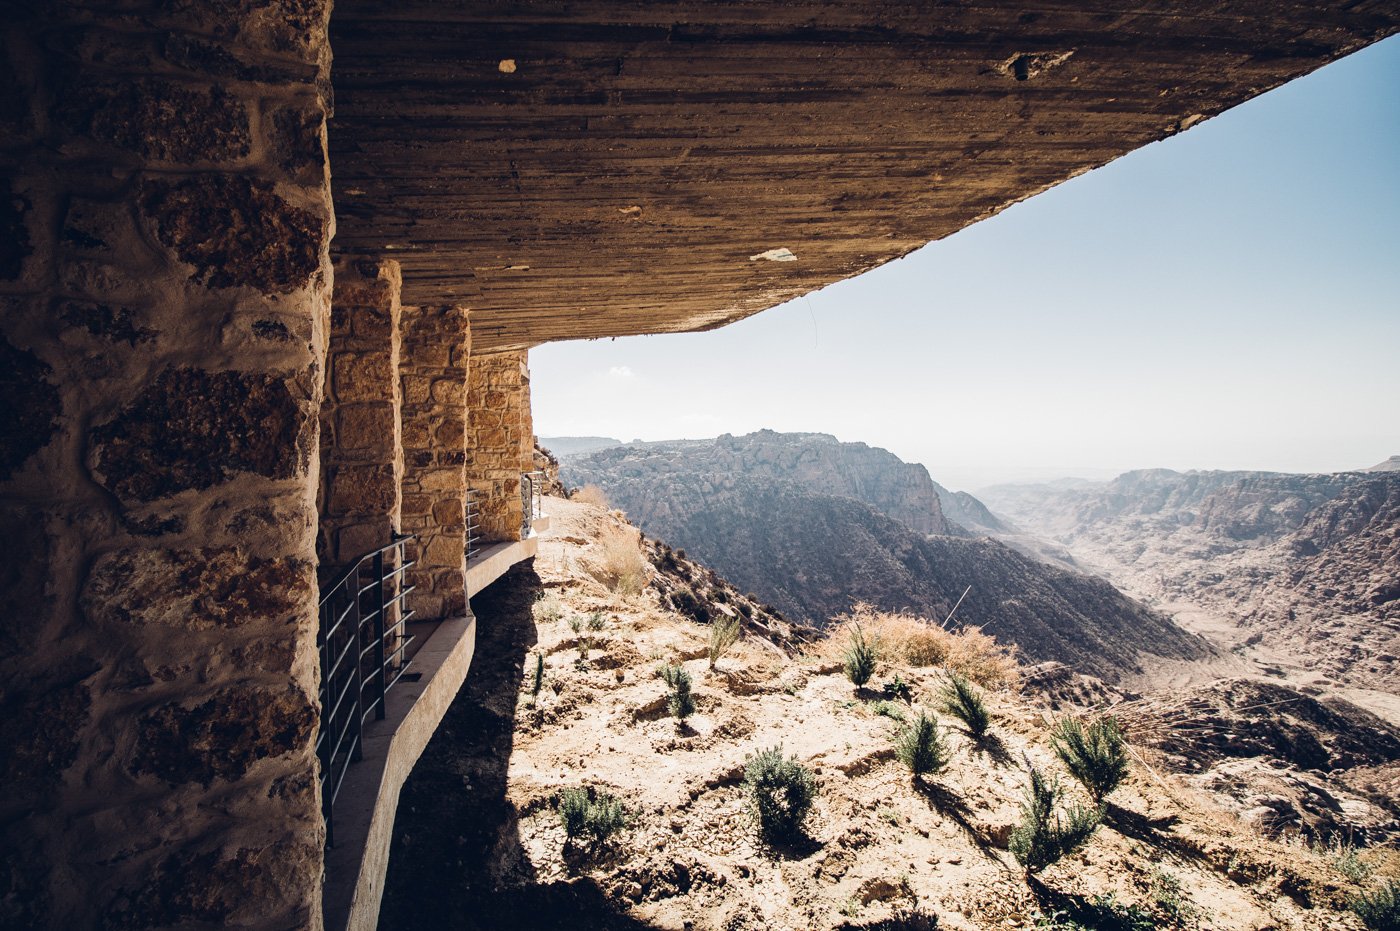
This shot was taken with the 200D and then edited in Lightroom.
Settings: ISO 100, 10mm, 1/640 sec at f 4,5
Which camera to buy
If you don’t have a camera yet, here comes the tricky part. It’s like photographers are part of secret clubs or religions. The clans are fighting each other. Canon is better for this, Nikon better for that, Sony is this and that.
“In the end it’s a matter of personal taste.”
I used a Sony Alpha for a while, but always felt like it wasn’t the right camera for me. I can’t put the finger on it, for me it felt like the autofocus and shutter was a bit slower, then I would’ve liked it to be (but it wasn’t the high end version of Sony’s camera line-up…). Nowadays a lot of photographers are switching to mirrorless systems, because they weigh less than DSLRs. Well, it comes with consequences. The variety of lenses is still way better for DSLRs.
“And the lenses are where the difference is made!”
The camera body is one part of the equation. But the lenses make all the difference. Those pieces of glass make or break the image quality. Therefore I think it’s essential to buy a camera with an interchangeable lens system.
You might want to start like me – just using the kit lens (that comes with the body) and upgrading slowly. My main lens now costs over 2.000 euros, so that’s not the first you might want to buy 😉 But at least you’ll have the option to upgrade at some point, if you started with the right body.
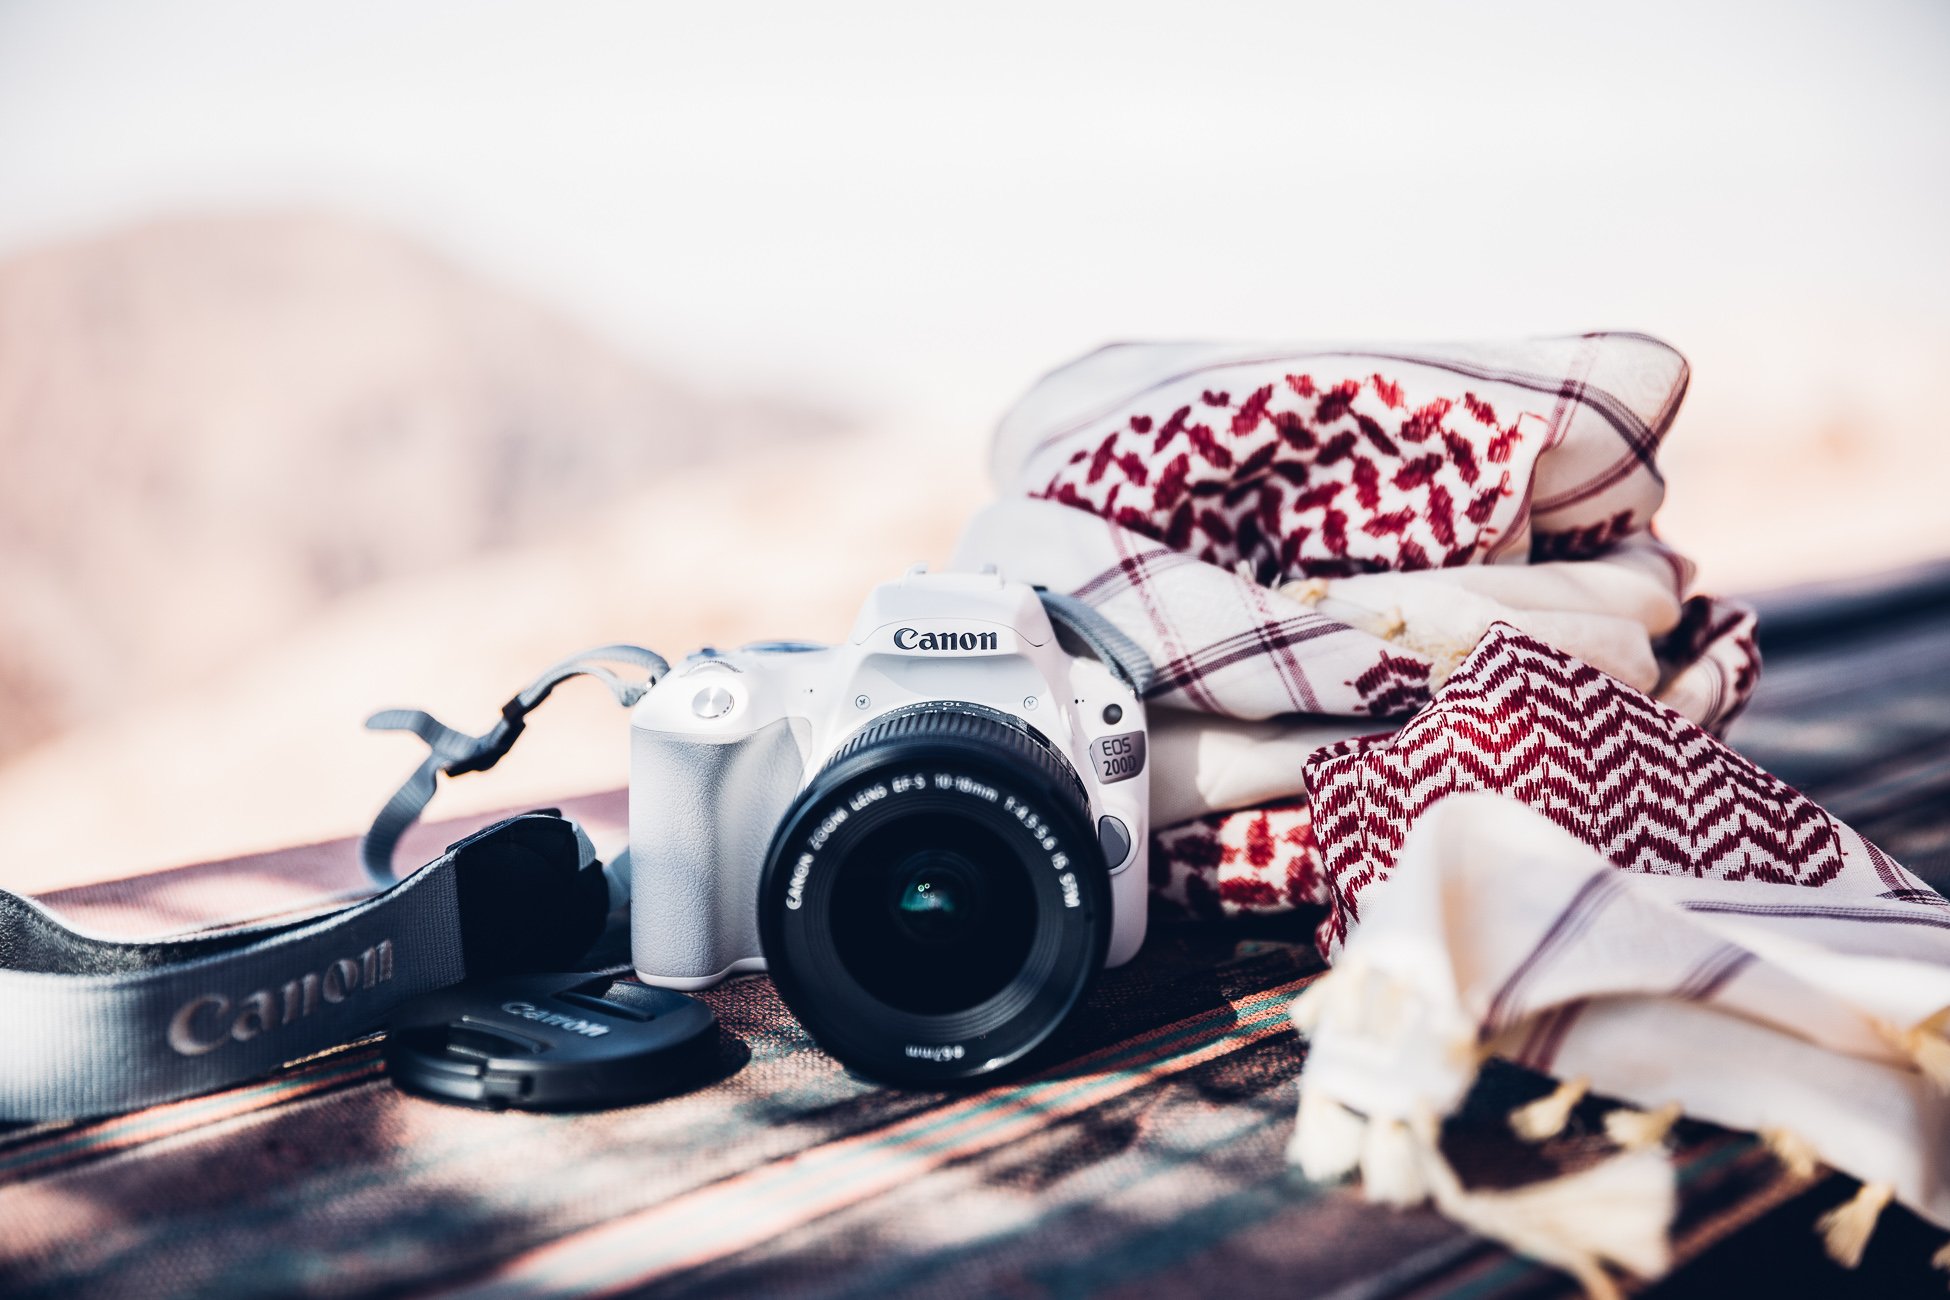
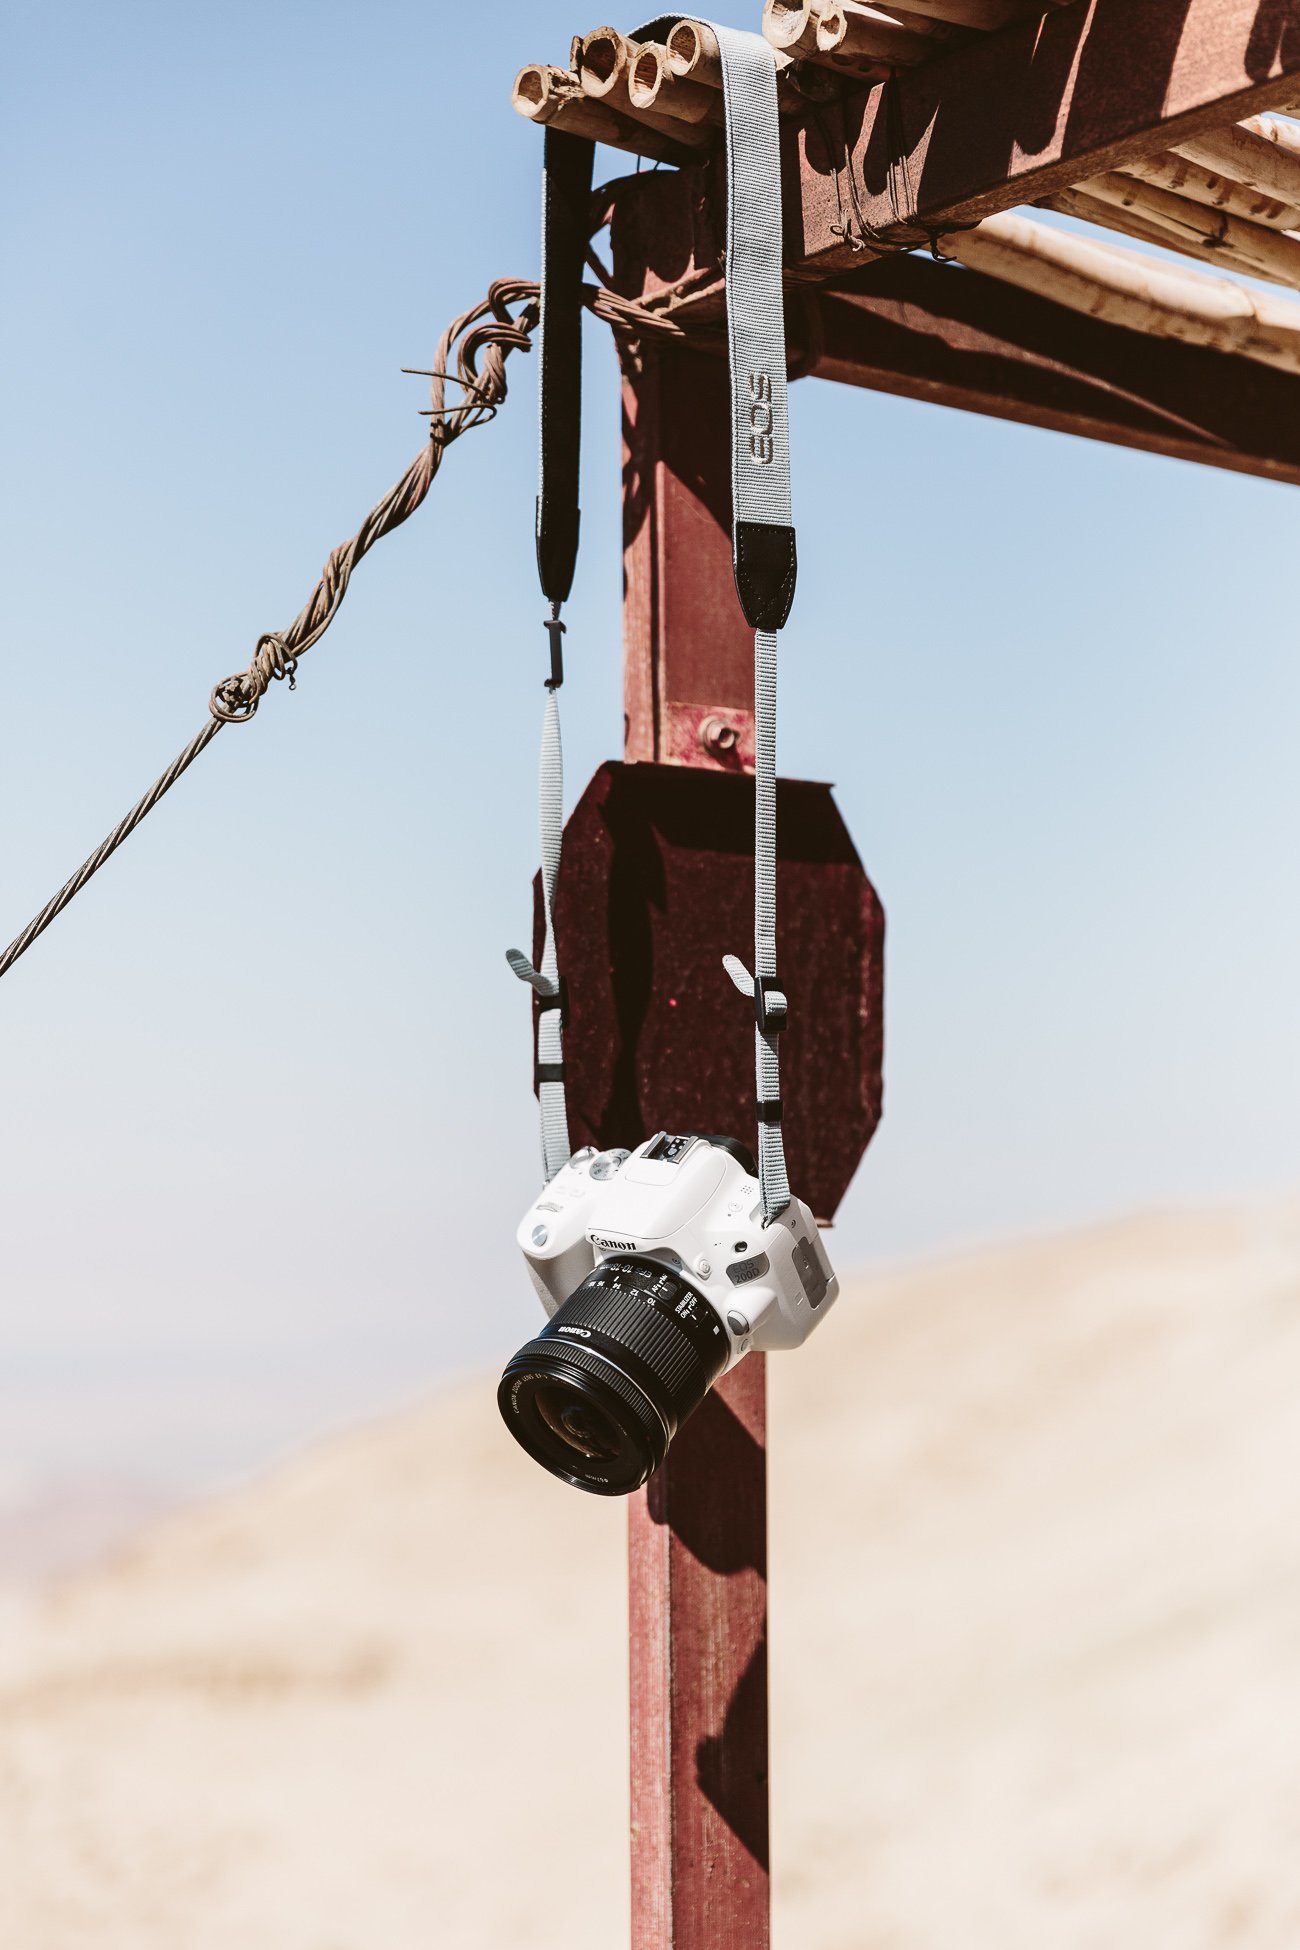
Canon 200D camera with 10-18mm lens.
Team Canon
So, here it is – I’ll say it: I’m Team Canon. And no, I don’t consider it a religion 😉 It just feels right for me. I know the camera, I work well with it, I have grown to learn where the buttons and menu items are. I like how it feels in my hands and I know how to work it by now.
So when Canon asked me to test a camera for you guys I knew that you’d probably appreciate a few tips from me, that don’t involve buying a 4.000 Euro camera setup 😉 That’s one of the main things.
“You don’t need an expensive camera. The camera is only one part of the whole equation.”
Editing is another important part.
Canon 200D camera with 10-18mm lens.
Testing the Canon 200D
I got the Canon 200D in white (starting at 645 Euros) for a test and took it to Jordan with me. In this blogpost I want to show you the results. My workflow hasn’t changed with this camera – so I still shot in RAW and edited in Lightroom with the presets I usually also use.
What do you think of the results? I was personally quite interested in how the photos would come out, because it had been a while since I had upgraded to the 5D and I never used another camera in the meantime. So, yes – this is not a technical test, where I’ll compare photos side by side and analyze ever pixel of every photo. There’s really technical (mostly guys) who do that on Youtube. If you’re up for a waste of time, watch those 😉
This is a personal test – and I was honestly quite impressed with the photo quality of some of the shots I took with this lightweight little camera. The lens I used wasn’t a high end lens as well, but just a regular Canon EF-S 10-18mm f4.5-5.6 IS STM (255 Euros). So with a setup that costs a fifth of my normal setup I could produce photos, that are – for my needs – just as good.
The main features of the Canon 200D:
- Light, small & compact, but still a „real DSLR“ – with all the options to upgrade on lenses
- Rotating touch screen (this is missing on my 5D and I really would appreciate this when I take photos from a lower or higher angle for example…)
- Connectivity (the 5D also doesn’t have Wifi, something that would come handy when you want to edit a jpg quickly while on the go…)
More infos about the Canon 200D!
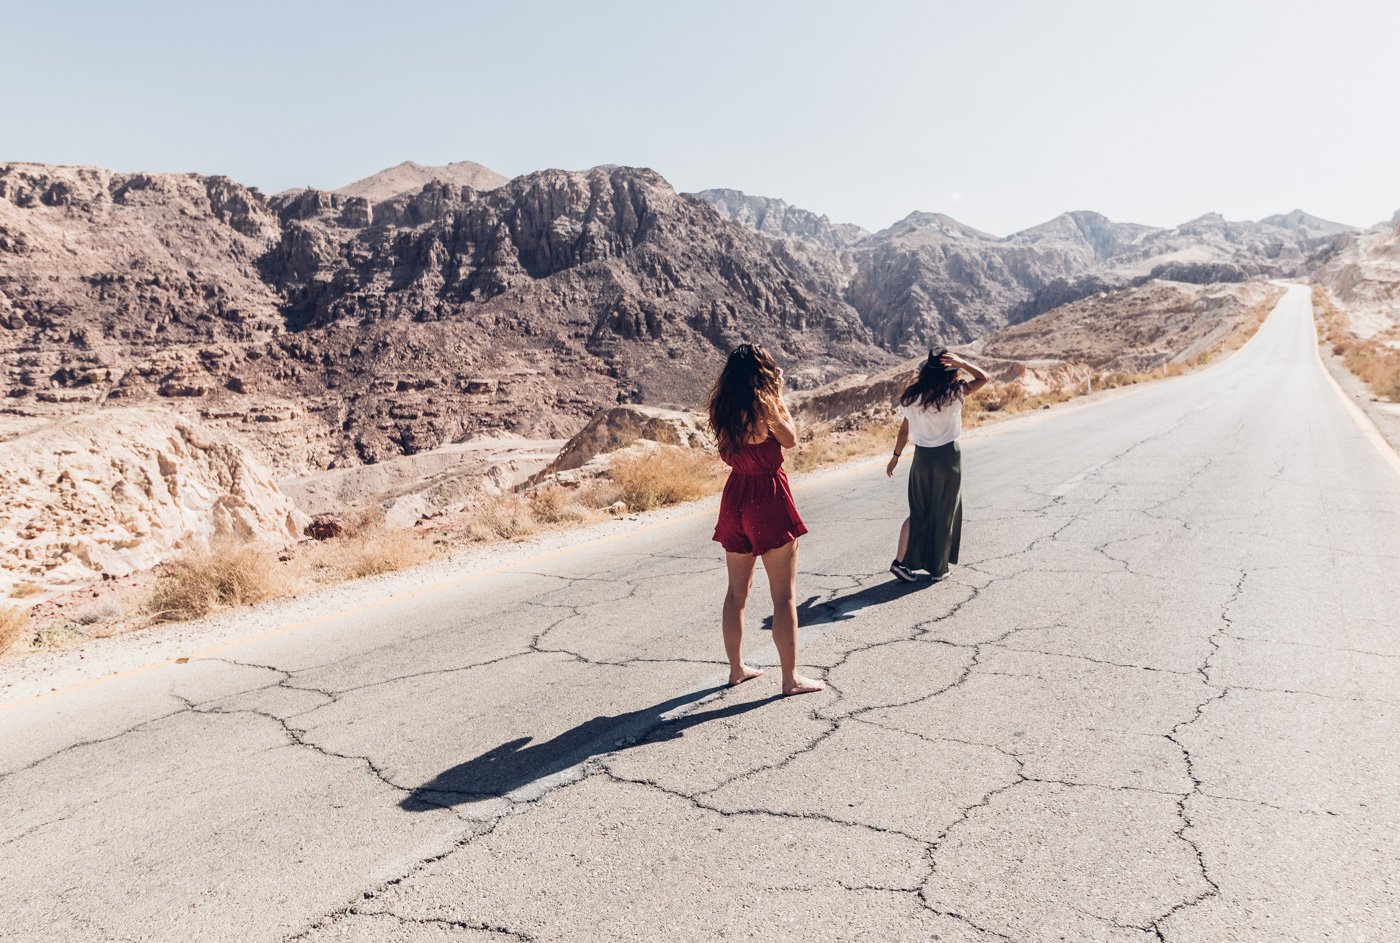
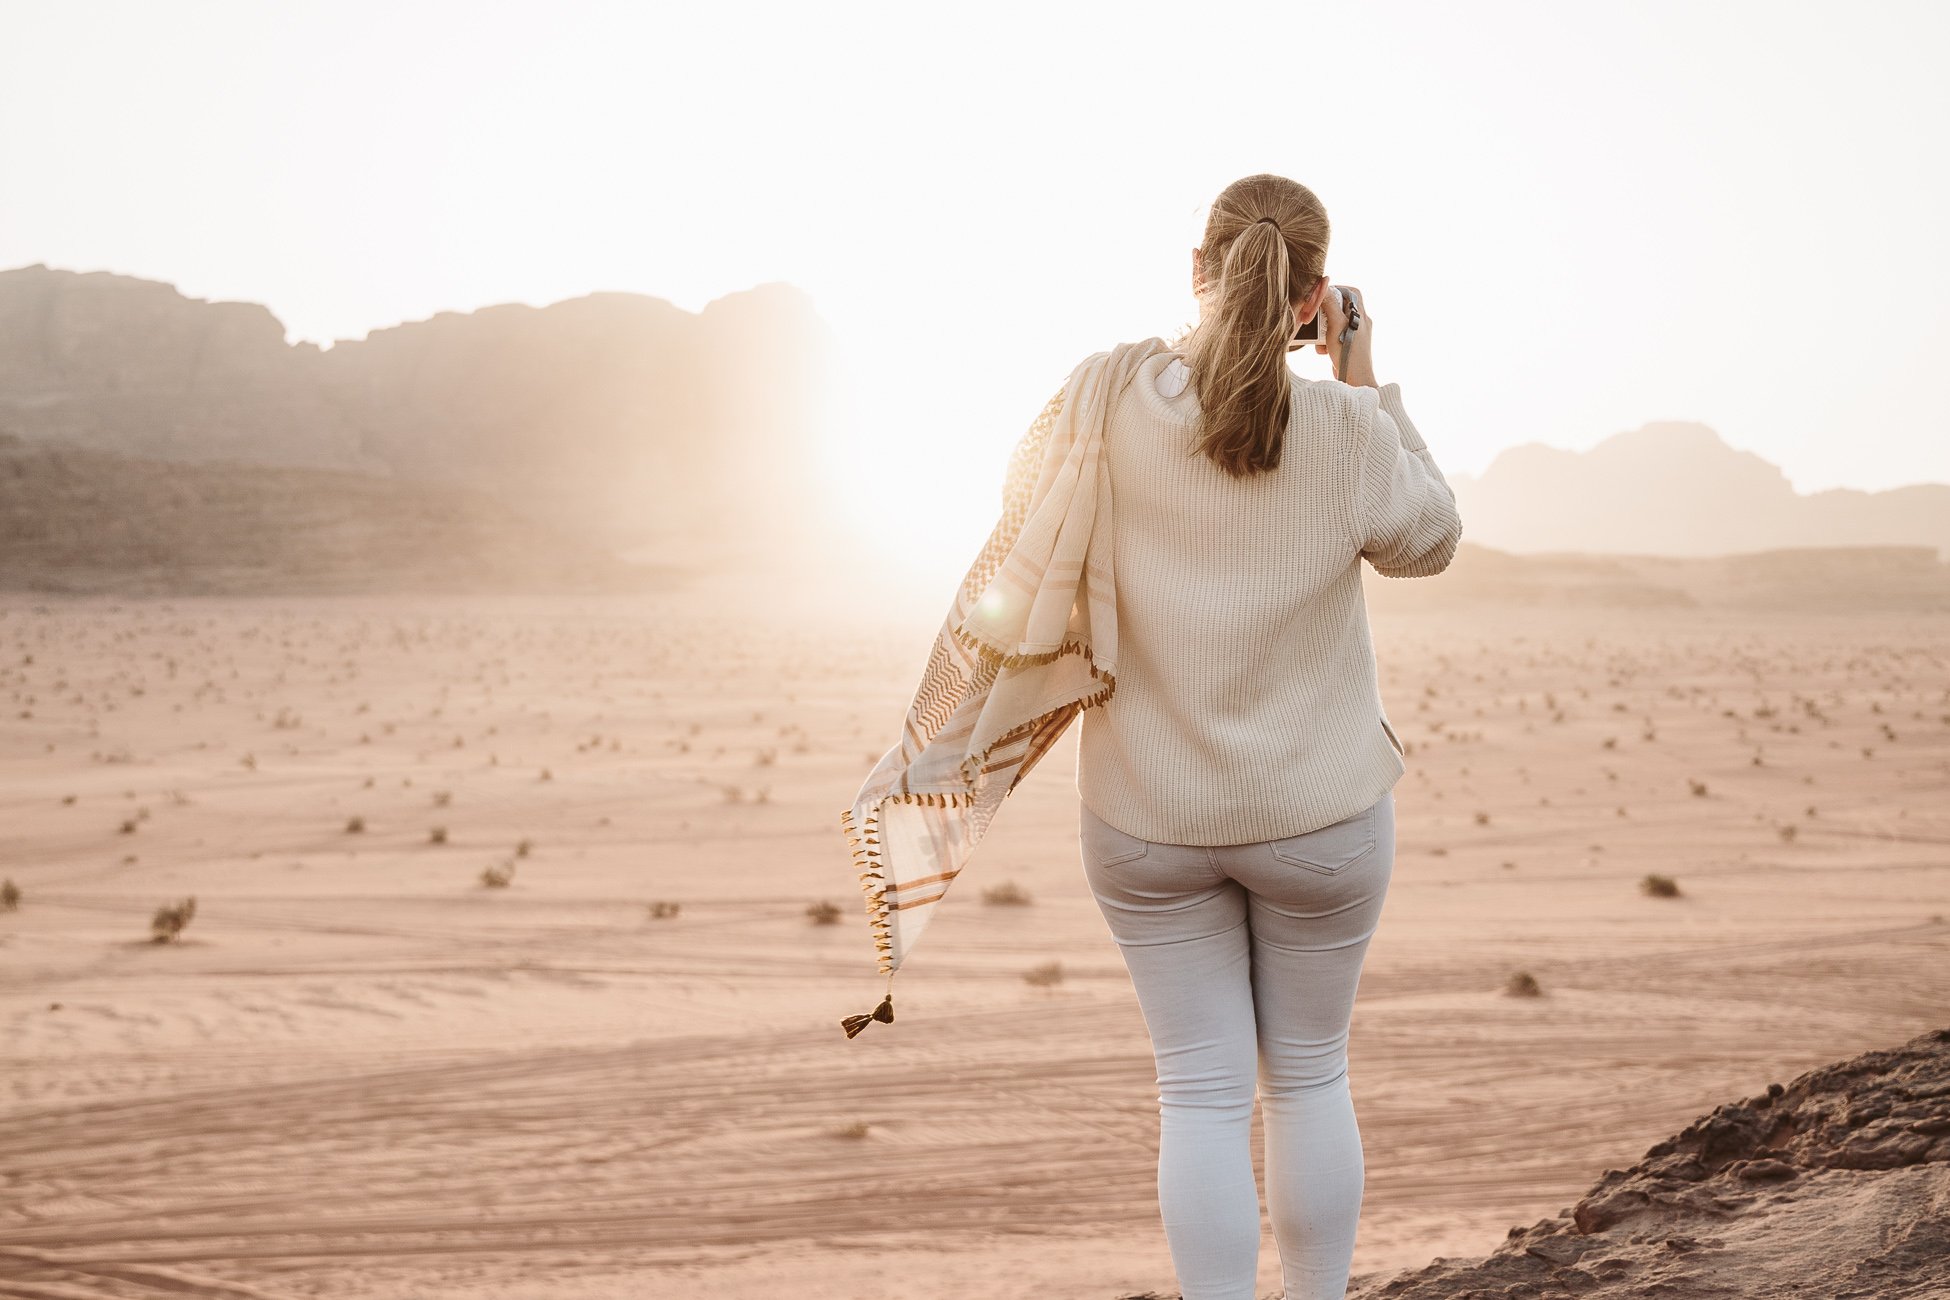
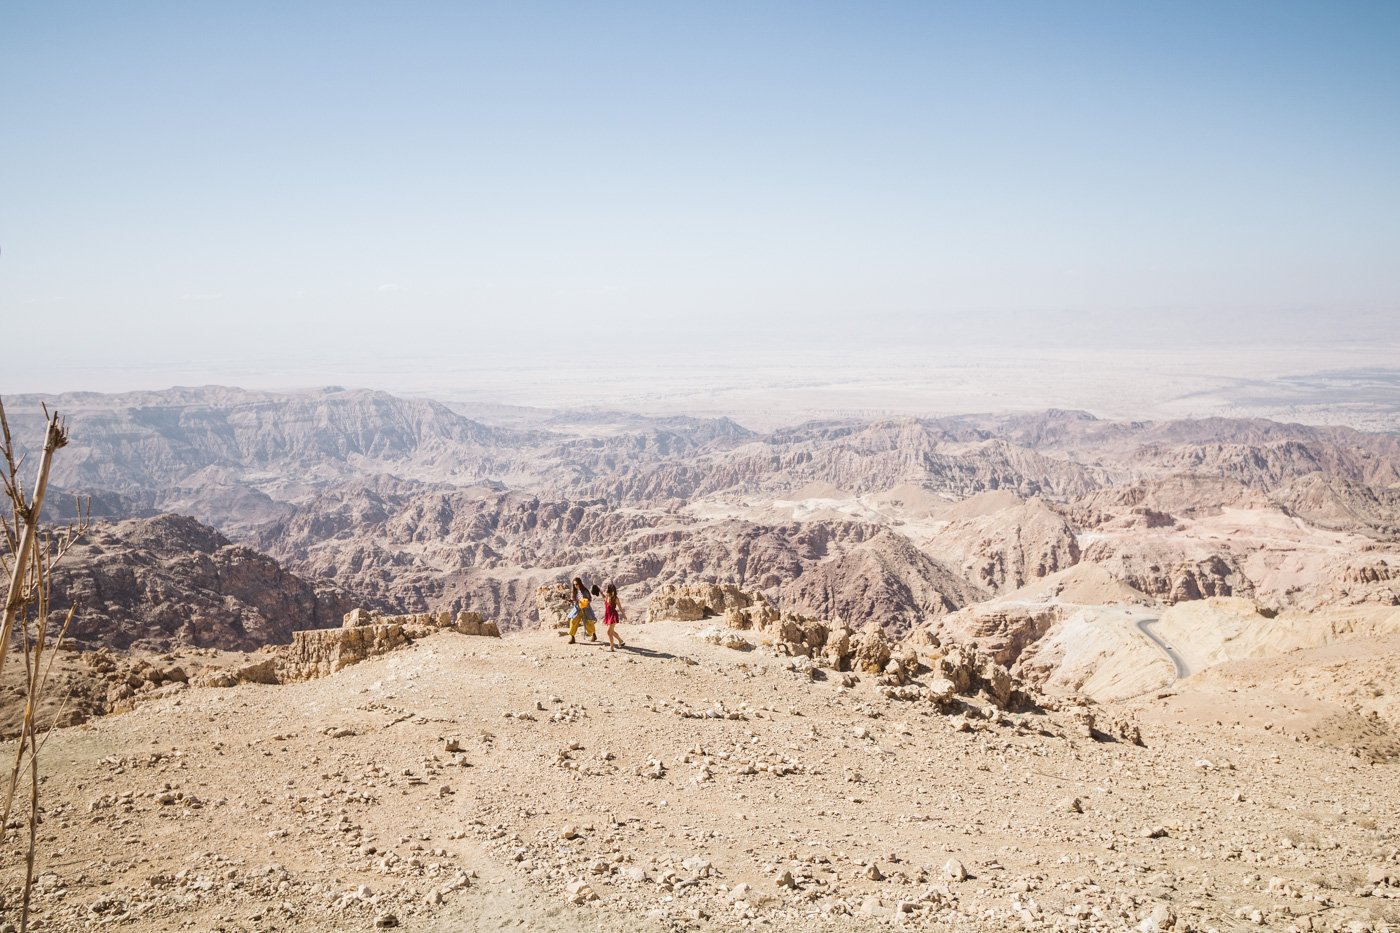
Photographers in the wild in Jordan as shot on Canon 200D.
Settings: ISO 100, 14mm, 1/800 sec at f 5,0
? Winning a photography workshop & your own Canon 200D ?
And finally – here comes the best part: You can also win something amazing!
- 5 spots in a photography workshop
- Including 5 Canon 200D cameras – one for every participant!
- Date: 3rd of February 2018
- Location: Vienna
Don’t be afraid, I won’t host that workshop (a trained Canon professional will) 😉 But of course I’ll join the workshop together with you and I’m sure I’ll learn a lot of new stuff as well! I’d be happy to share some of my tipps and tricks in that workshop as well (let’s see if we can surprise that workshop host, shall we? ;-)).
If you want to take part, just leave a comment here until the 29th of November 2017 and tell me on which of your travels you’ll take your Canon 200D with you! I can’t wait to share this experience with you!
Winners will be announced on 29th of November on Instagram (@ladyvenom)!
Disclaimer: This is a sponsored post. Canon provided the camera & paid for this post, but the views in our blogpost stay independent from this payment.